
Some desserts are pretty customary, everyone has a recipe, or their great-great grandma does, and it works for them. The first things that come to my mind are chocolate chip cookies, brownies, apple pie, and –oh yes- chocolate cake.
You could say chocolate cake is my thing, my weakness, the staple midnight craving. I really like chocolate, I actually brutally dislike it when people use the term, “too much chocolate,” or “it’s too rich.” Well if you’re one of those people, this just isn’t the cake for you. About that, I’m really sorry and I’d be happy to conjure a more “mild” cake, but for now you might just have to excuse yourself.
This is a tri-layer, bi-filling, universal sign of sweet surrender. Weight watchers might have to take a sick day for this one. It starts with a moist chocolate cake made with a dark coffee to really round out all of the flavors of the cake. The cake itself isn’t as chocolate-y as one would presume, but the ganache crumb-coat and filling more than makes up for that, I assure you.
Ganache is a chocolate topping or filling that can be used for a whole bunch of fun stuff; truffles, ice cream cake, and sometimes the “fudge topping” on those mouth-watering bakery brownies. Ganache, in all of its glory, is actually incredibly simple to make: near-boiling heavy cream is poured over chocolate, allowed to sit at room temperature for a few minutes, and whisked to smoothness. If you melt chocolate in the microwave, you run the risk of the chocolate seizing up- that’s when it goes from smooth, liquid chocolate to a strange-textured clump of weird. We don’t like that, so we use the other method.
The buttercream frosting, though it may be cheating, is basically whipped buttercream and chocolate ganache. It works for this cake because a delicious contrast of dark chocolate for the ganache and milk chocolate for the buttercream complements the bold coffee laced in the cake. The buttercream is pretty simple to make as well, but it may be better to make it a day in advance. Ganache has to cool at room temperature, at least the first time, and then refrigerated. If you make this a day in advance, you can beat in the cooled ganache the next morning into the buttercream base and you’ve saved yourself a whole lotta waiting.
As for the cake, it is almost the exact same recipe I used for the Cookie Dough Cupcakes in an older post. It’s a great, versatile recipe, and perfect for this cake. As for any cake, I would suggest making it at least a day in advance, as cake gets yummier with time. Refrigerate it prior to slicing, and pull it out about one hour before you serve it.
Just a fair warning: you may need some milk on stand-by, this one’s a doozy.

CAKE
Ingredients:
2 cups white sugar
1 ¾ cups all purpose flour
¾ cup unsweetened cocoa powder
1 ½ teaspoons baking powder
1 ½ teaspoons baking soda
1 teaspoon salt
2 eggs
1 cup whole milk
½ cup vegetable oil
2 teaspoons vanilla extract
1 cup boiling water
1/3 cup finely chopped milk chocolate
¼ cup mayonnaise
Directions:
- Preheat oven to 350F. Grease and flour three 9 or 8-inch round cake pans.
- In a large bowl, sift together sugar, flour, cocoa, baking powder, baking soda, and salt. Make a well in the center (a crater) and add the eggs, vanilla, oil, and milk. Beat for 2 minutes at medium speed, stopping occasionally to scrape the sides of the bowl. Stir in boiling water (with instant coffee, if you wish) gradually, about 1/5 at a time, with a whisk.
- Once consistent, fold in chocolate and mayonnaise with a rubber spatula. Fill the pans as evenly as you can and bake in preheated oven for 17 minutes, check done-ness with a toothpick, and put them back in for 2 minutes if the toothpick doesn't come out clean. Let them cool to room temperature then place them in the freezer.
GANACHE
Ingredients
9 oz chopped bittersweet/dark chocolate, chopped (NOT chips)
1 cup heavy whipping cream
Directions
- Place the chocolate into a medium bowl. Heat the cream in a small sauce pan over medium heat. Bring just to a boil, watching very carefully because if it boils for a few seconds, it will boil out of the pot. When the cream has come to a boil, pour over the chopped chocolate, and whisk until smooth.
- Allow the ganache to cool to room temperature before refrigerating.
BUTTERCREAM
Ingredients
8 oz finely chopped dark chocolate
8 oz finely chopped milk chocolate
1 ½ cups heavy whipping cream
2 tablespoons corn syrup
3 sticks unsalted butter, softened, cut into cubes
Directions
- Place both the chopped bittersweet and milk chocolates into a mixing bowl. Set aside.
- In a small saucepan, bring heavy cream and corn syrup to a boil. Take off the heat and pour over chocolate. Let stand for 2 to 3 minutes.
- Starting in the center, whisk towards the edges of the bowl until the chocolate is smooth. Let cool at room temperature.
- Beat the cooled ganache at medium speed and gradually add butter until the frosting is smooth and silky.
Construction
- Take your three cooled cake rounds out of the freezer or refrigerator and set them aside. Loosen each cake from the pan with a knife and tap the sides and bottom until the cake is no longer attached to the pan. Flip the cake into the palm of your hand and back onto a level surface- I’d suggest a cutting board.
- When you have all three rounds out, determine which will be your top, middle and bottom. You want your bottom layer to be the thickest, most stable, and flat on the bottom. The one that is the most butchered- maybe some of the bottom stuck to the pan or the top has a big dome- and you want your top layer to be the prettiest and flattest on top.
- Use a sharp serrated knife to level the three cakes, and save the scraps for some much-needed ‘You Did It!’ cake balls at the end (check out my Pumpkin Maple Cake Balls post for strategy). Take your bottom layer and slide it onto whatever your serving plate will be, there’s no going back once you layer this bad boy (some people put strips of wax paper under the cake to catch crumbs while layering and pull them out for presentation, I always forget to do that).
- Take a rubber spatula and put a dollop of ganache- it should be room temperature, spreadable yet not runny, about the consistency of marshmallow fluff or Nutella- on your first layer and smooth it ALMOST to the edges of the cake. Next, do the same with about 1/3 of the buttercream. The ratio of buttercream to ganache on top of the layers should be about two-to-one, more buttercream than ganache. If you’re feeling extra-snazzy, sprinkle some mini chocolate chips or chopped chocolate in between layers.
- Stack your designated middle layer on top of the first and repeat the last step. If any filling squeezes out the sides run your spatula around the edge to smooth it back into the gap.
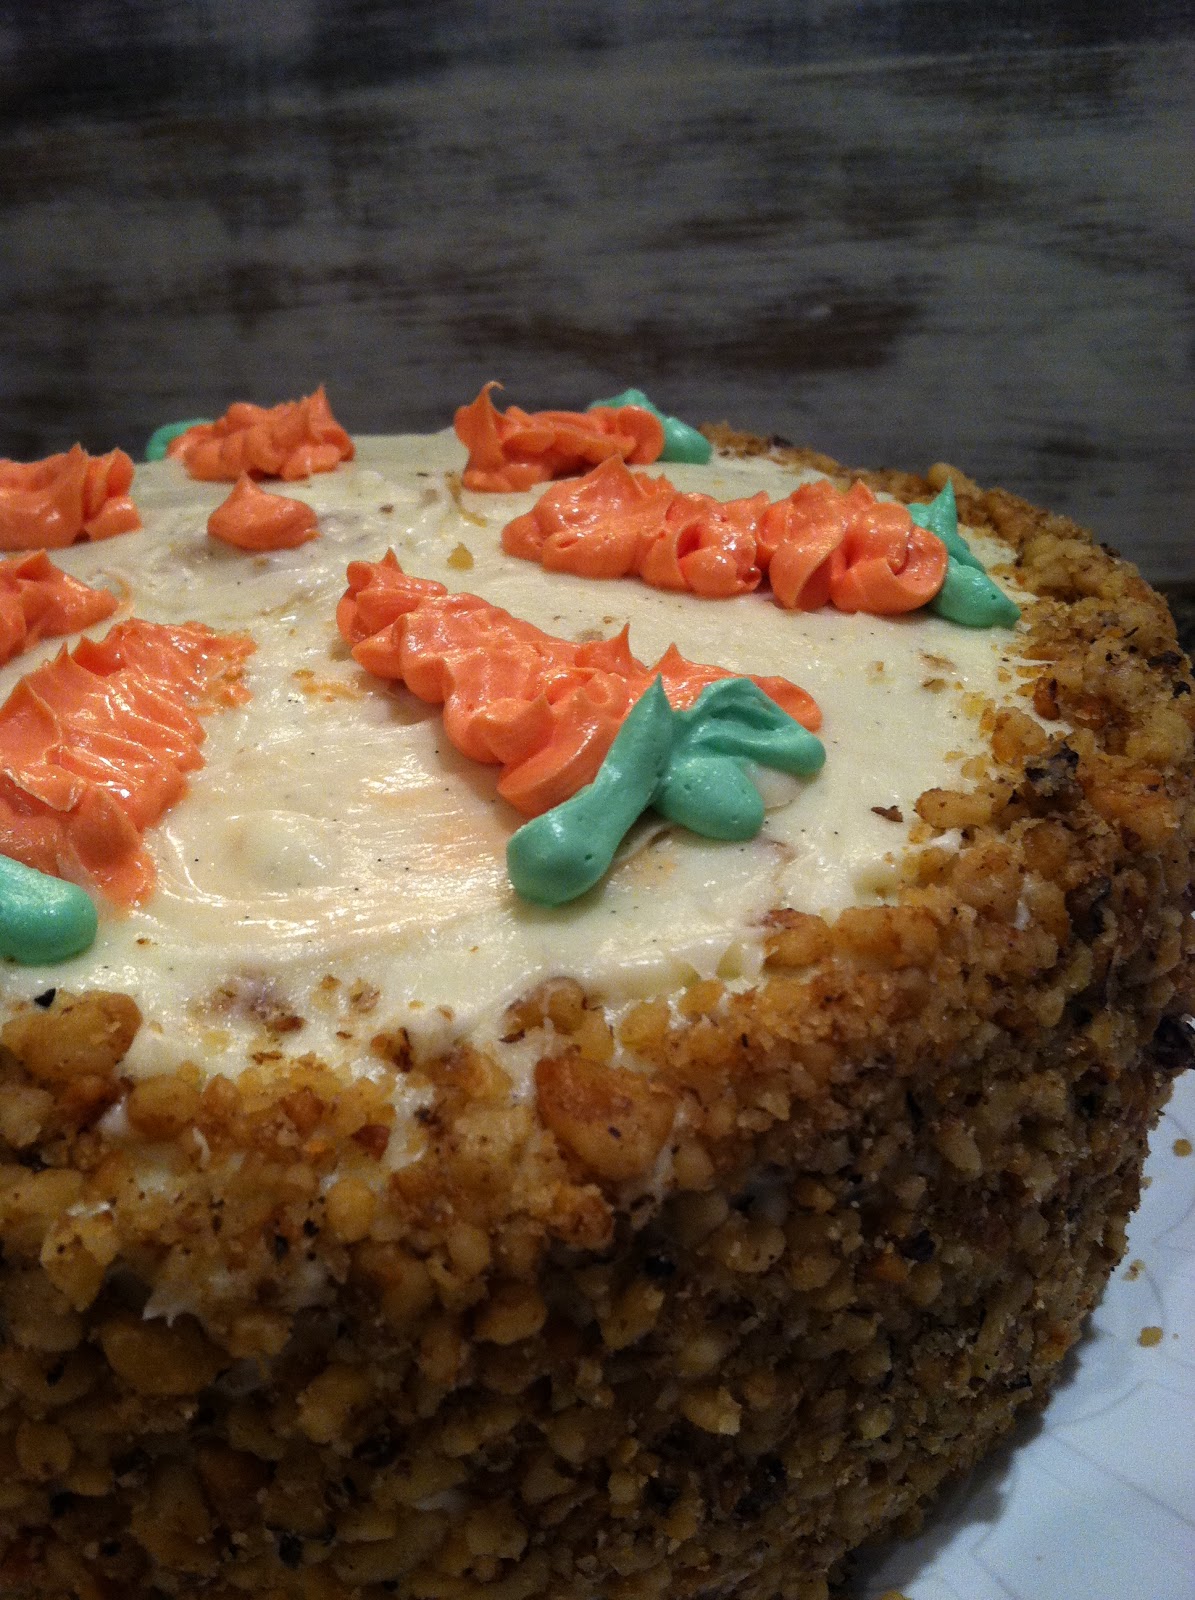
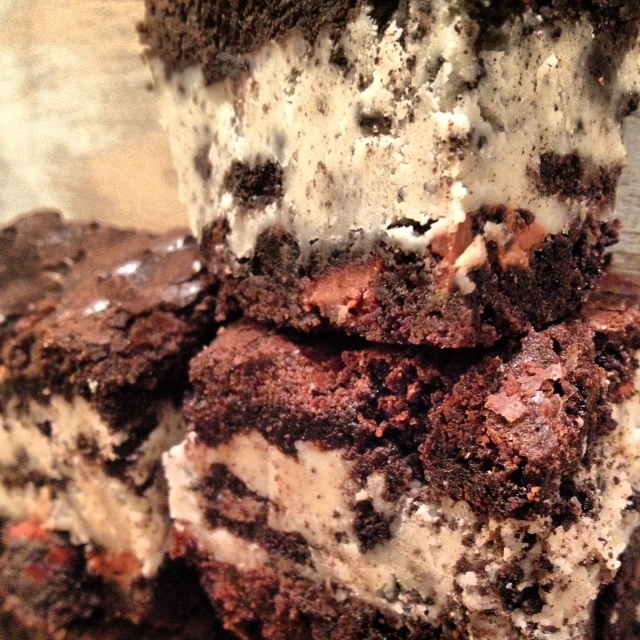
- For your top and final layer, stack it on the other two layers, smoothing again if any filling comes out. Take a nice heap of ganache and spread a thin layer on the surface of the cake. As you near the edge, spread the excess ganache from the top on the sides so the entire surface is thinly-coated and any gaps in between layers are filled in with ganache. It should look like a nice, smooth, consistently-textured cylinder, and a tasty one at that (see picture) .

7. Put your cake in the freezer and allow the ganache to harden (it doesn't come off with a light touch). When the ganache is ready, pull the cake out and spread the rest of the buttercream on the outside over the ganache. You can decorate it from here, maybe pat the sides with chocolate chips or crumbs, piping on ganache, go crazy.
**Cake should be refrigerated if you don’t plan to serve it right away (which I suggest; cake is always better the next day).
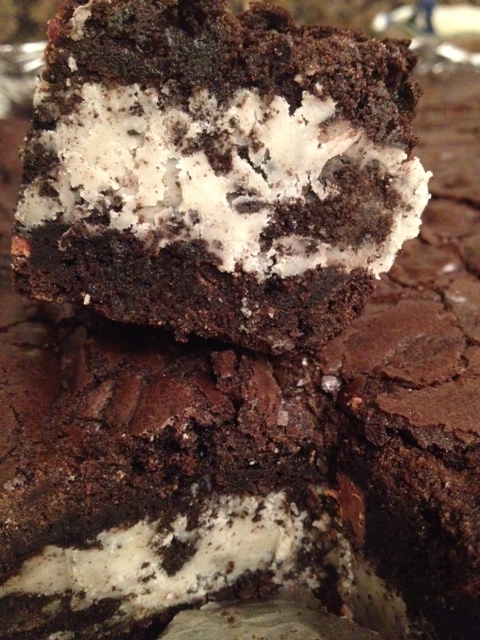
This is the Ganache crumb-coat
 We've all heard it. "Nobody's perfect." And I think it's safe to say it’s a pretty darn near foolproof principle. Little did I know that that exact same concept applies to none other than chocolate chip cookies. I expected to take my cookie poll, copy down results, and have a definite winner; that was that. It turns out, though; I didn't take into account the different preferences of people, especially those who take their cookies very seriously, like me. The traits of my personal favorite cookie may not parallel those of others'- some loved a hint of sea salt, some hated it; some like chewy, others crisp- it's never going to be a unanimous result.
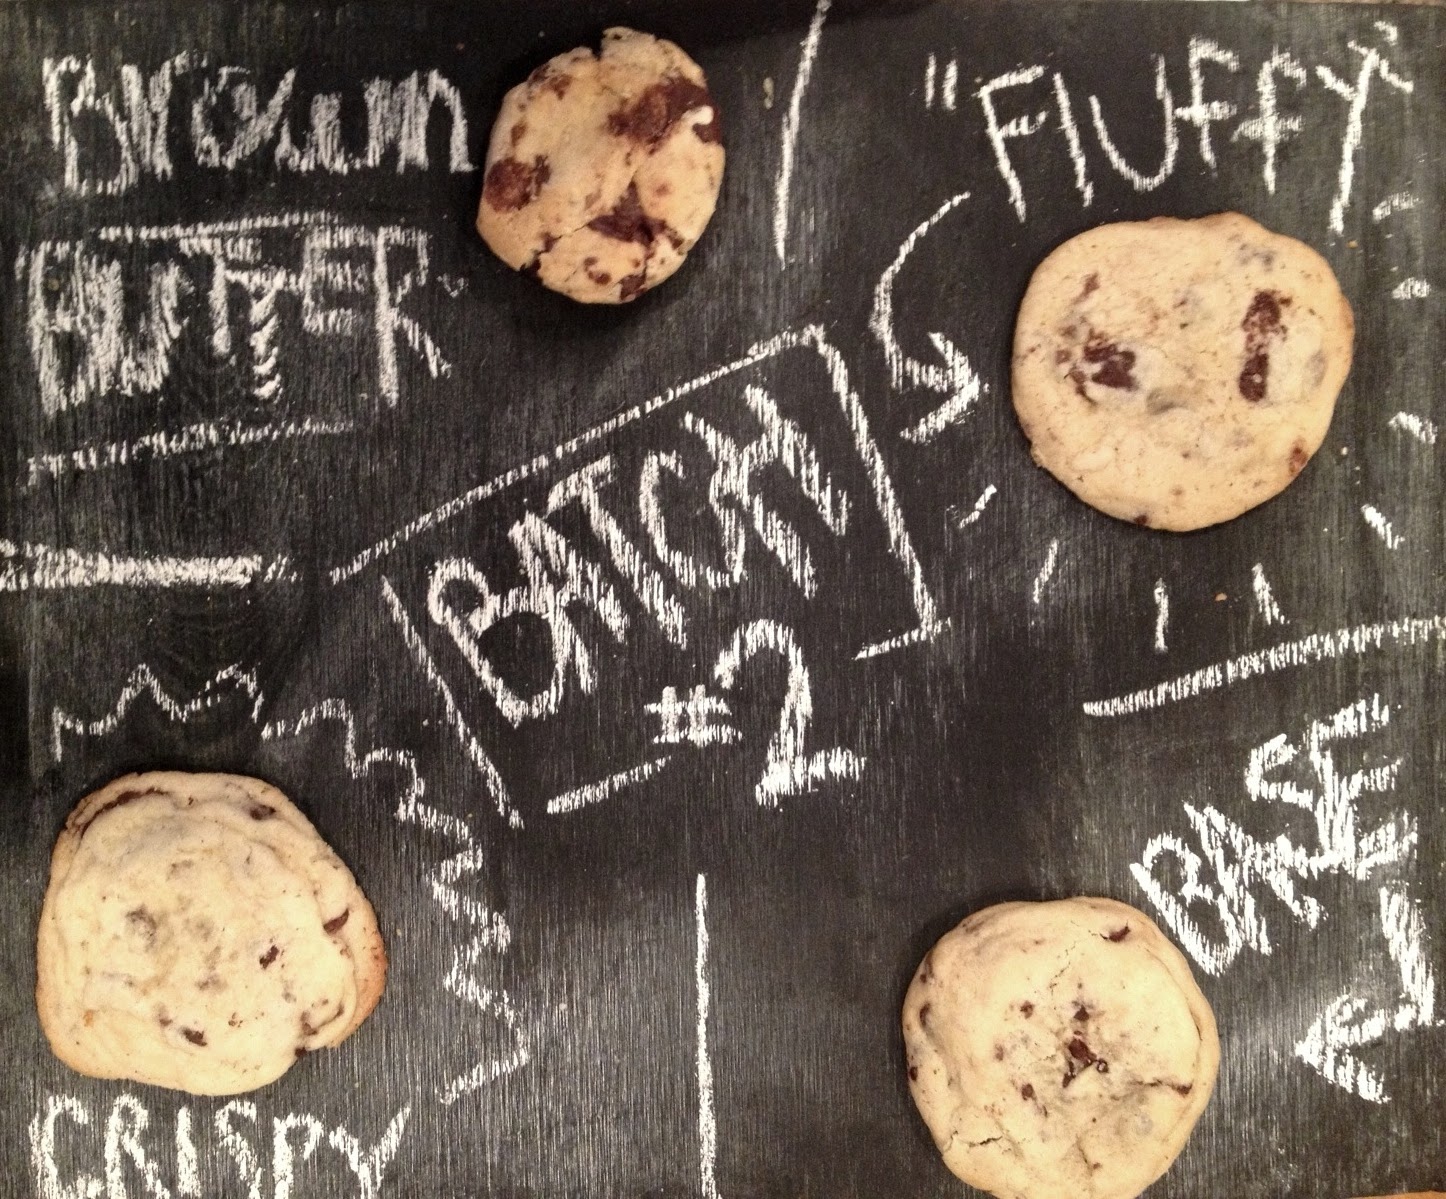 It actually seemed as though the majority of favorite cookies came from batch #1, the first four recipes. By the numbers, it seemed that chewy, giant, and fluffy from the first batch almost tied for first, and from batch two, almost all the cookies showed a love/hate relationship with the testers. The crispy prevailed though, according to my dear grandma, and we don't take her opinion lightly.


